Tutorial: Example workflow
Note
This tutorial does not cover Pre-Ingest File Storage API users, which has a different workflow that does not use IDA or Qvain services.
Here we go through an example workflow of using IDA to upload files, Qvain to create dataset, and Management interface to preserve the dataset. For the demo environment use https://ida.demo.fairdata.fi instead.
IDA
Login to IDA (https://ida.fairdata.fi).
- Upload your files to the IDA staging area.
We recommend creating a unique directory for each dataset at root.
Freeze the files.
That’s it, you’re done with IDA!
Qvain
Login to Qvain (https://qvain.fairdata.fi).
Click “Create a new dataset” button.
Add all necessary metadata.
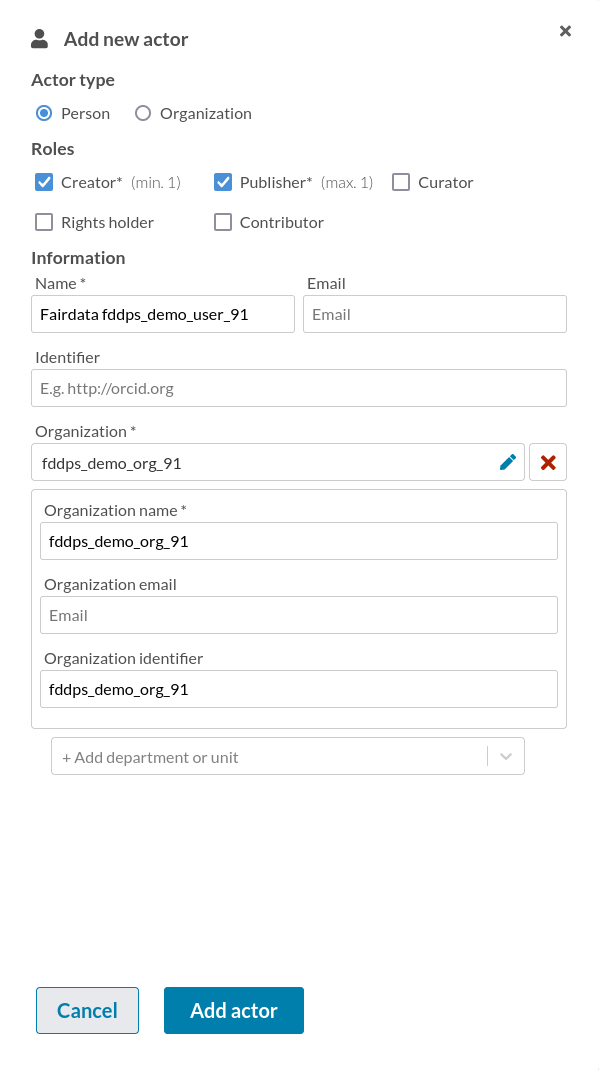
If you are using the demo environment, when adding Actor to the dataset remember to manually add your demo organization. Demo organizations are called fddps_demo_org_NN, where NN is the number from your demo account name. This is also the organization identifier.
Add files from IDA. After adding files, remember to add metadata for each directory in the dataset root! It is for this reason having one root directory for a dataset is handy, as you need to only add metadata to this one directory.
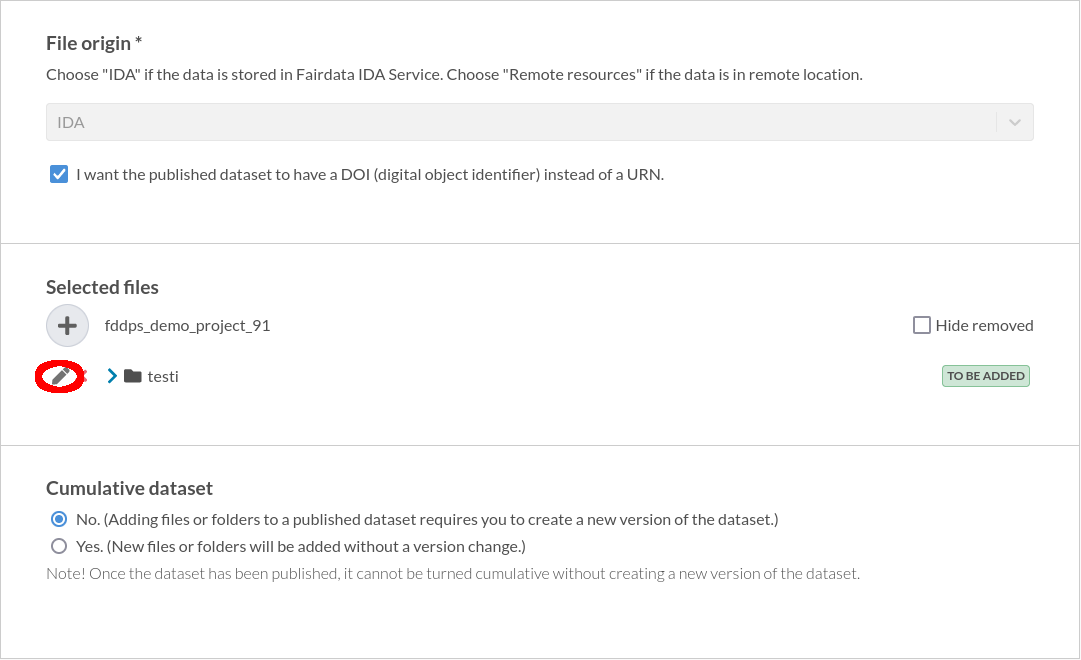
Click the edit button next to the directory.
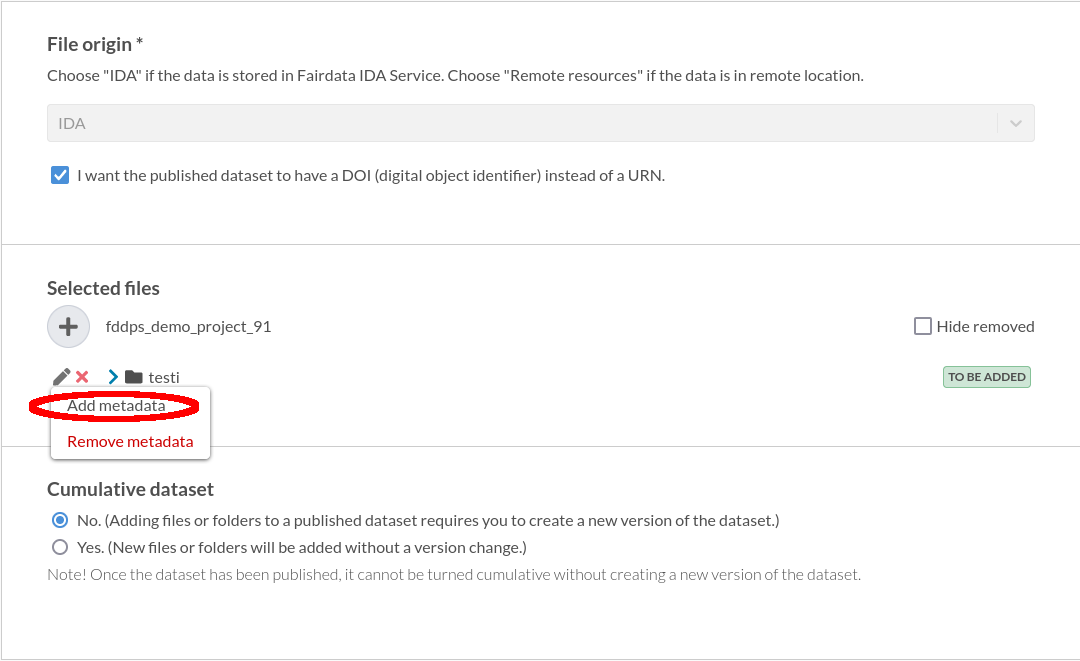
Select “Add metadata” in the dropdown menu. :width: 200
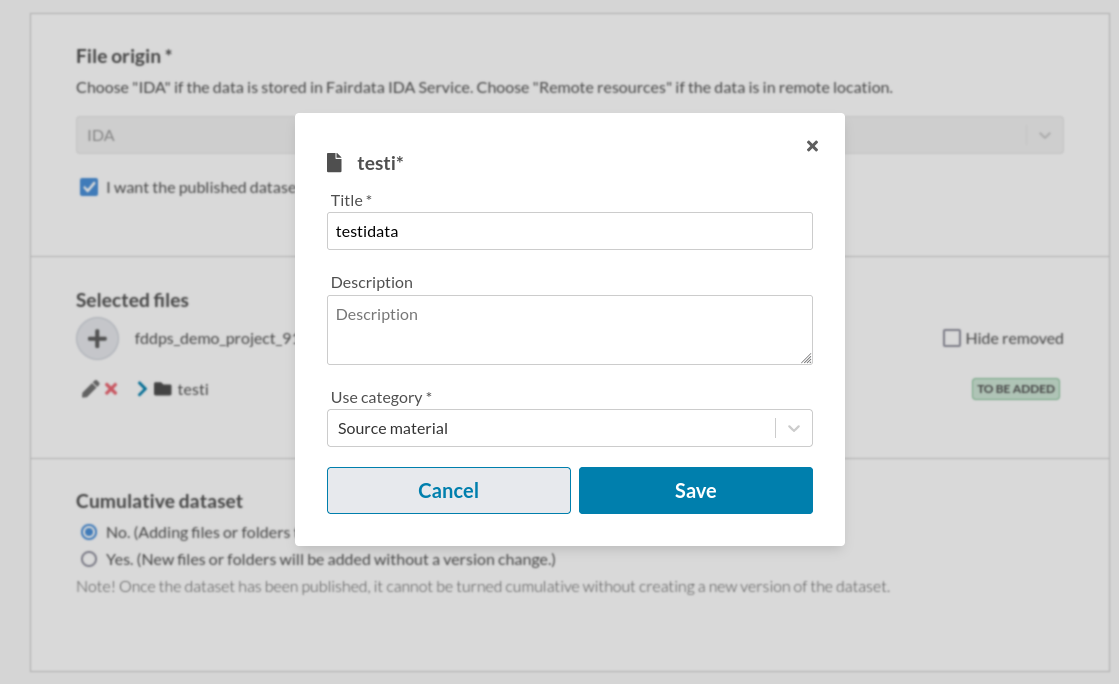
Select a value for “Use category” and save the metadata.
Save and publish the dataset.
Management Interface
Login to management interface (https://manage.fairdata.fi).
Find your dataset either by browsing or using filters.
Open your dataset.
Select an agreement for the dataset.
Click “Identify files” button.
Check the metadata and confirm having done so by clicking the “I have checked the metadata”-switch.
Add a justification for preservation if desired and click “Propose for preservation”.
Check your quota and finally accept the dataset for preservation by clicking “Accept”.
Wait until the dataset status is “In digital preservation”. Congratulations! You have a dataset in digital preservation!